
Comment installer Braiins OS sur votre Antminer : Guide étape par étape (2026)
Si vous possédez un Bitmain Antminer et souhaitez en tirer de meilleures performances sans acheter de nouveau matériel, installer Braiins OS est l'une des décisions les plus judicieuses que vous puissiez prendre. Ce firmware open source remplace le logiciel Bitmain d'origine par un système plus léger et plus transparent, qui débloque l'auto-tuning, un contrôle précis de la puissance et une efficacité nettement améliorée. En 2026, Braiins OS reste la référence absolue pour les mineurs à domicile qui souhaitent un contrôle total sur leurs machines.
Ce guide vous accompagne à chaque étape — du téléchargement des outils jusqu'à votre première part de bloc optimisée — sans aucune connaissance technique préalable requise. Que vous utilisiez un seul Antminer S21, un ancien S19 ou tout autre modèle, la procédure est identique.
Ce que nous couvrons
- Pourquoi passer à Braiins OS ?
- Ce dont vous avez besoin avant de commencer
- Étape 1 : Télécharger le Braiins OS Toolbox
- Étape 2 : Préparer votre Antminer
- Étape 3 : Flasher Braiins OS via le Toolbox
- Étape 4 : Configurer votre pool de minage
- Étape 5 : Activer l'auto-tuning et surveiller
- Problèmes courants et solutions
- FAQ
Pourquoi passer à Braiins OS ?
Le firmware Bitmain d'origine fait le travail, mais il laisse beaucoup de potentiel inexploité. Braiins OS a été développé par la même équipe qui gère Slush Pool — le plus ancien pool de minage Bitcoin au monde — et cela se ressent dans la qualité du logiciel. Voici pourquoi les mineurs à domicile le préfèrent systématiquement :
Auto-tuning par puce
Chaque puce ASIC à l'intérieur de votre mineur possède une courbe d'efficacité légèrement différente en raison des variations de fabrication. Braiins OS ajuste automatiquement chaque puce individuellement, extrayant le hashrate maximum des meilleures puces tout en réduisant la charge sur les plus faibles. Le résultat est souvent une efficacité 5 à 15 % supérieure (J/TH) par rapport au firmware d'origine fonctionnant au même niveau de puissance.
Contrôle précis de la puissance
Au lieu de choisir entre des modes fixes prédéfinis, Braiins OS vous permet de définir des objectifs de puissance exacts en watts. Vous fonctionnez à 0,10 EUR/kWh ? Réglez sur 1 800 W et laissez le firmware maximiser le hashrate dans cette enveloppe. C'est essentiel pour la rentabilité lorsque les coûts d'électricité varient.
Transparence et sécurité
Braiins OS est entièrement open source. Contrairement au firmware propriétaire d'origine, vous pouvez vérifier exactement ce qui s'exécute sur votre machine. Il n'y a aucune dev fee cachée dans Braiins OS+ (le niveau gratuit), bien que vous puissiez activer en option des fonctionnalités avancées via leur abonnement payant.
Ce dont vous avez besoin avant de commencer
Avant de flasher, assurez-vous de disposer des éléments suivants :
- Un Bitmain Antminer (S19, S19 Pro, S19j Pro, S21, S21 XP ou autres modèles compatibles)
- Un ordinateur Windows, macOS ou Linux connecté au même réseau local que le mineur
- Le mineur connecté via Ethernet à votre routeur (le Wi-Fi n'est pas pris en charge)
- L'adresse IP locale du mineur (vérifiez le panneau d'administration de votre routeur ou utilisez un scanner réseau)
- Vos identifiants de pool de minage (URL, nom du worker, mot de passe)
Vous pouvez consulter la gamme complète des modèles Bitmain Antminer disponibles chez Mineshop si vous souhaitez ajouter du matériel à votre installation.
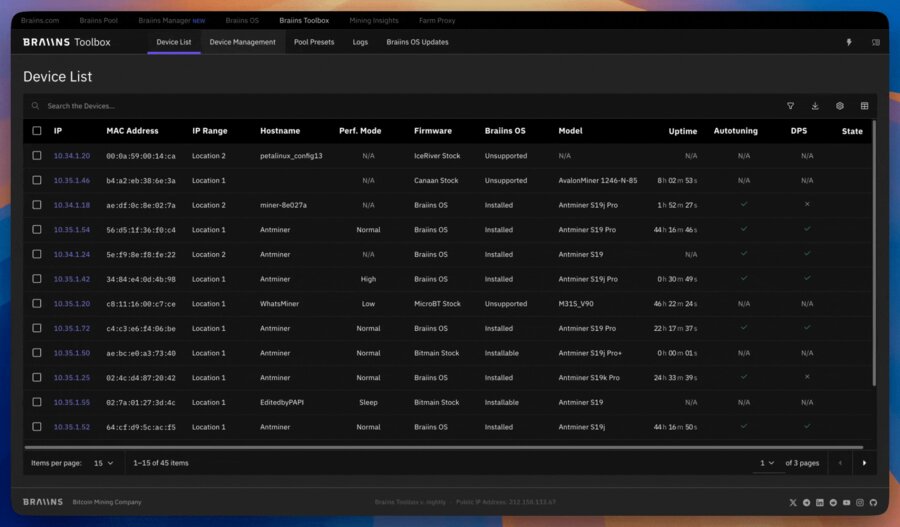
Étape 1 : Télécharger le Braiins OS Toolbox
Le Braiins OS Toolbox est une application de bureau qui gère l'intégralité du processus d'installation. Il fonctionne sur Windows, macOS et Linux et ne nécessite aucune expérience en ligne de commande.
- Rendez-vous sur braiins.com/os/plus et téléchargez le dernier Toolbox pour votre système d'exploitation.
- Extrayez l'archive dans un dossier facile à retrouver (par exemple
Bureau/braiins-toolbox). - Lancez l'application Toolbox. Sur macOS, vous devrez peut-être faire un clic droit → Ouvrir pour contourner Gatekeeper lors du premier lancement.
Étape 2 : Préparer votre Antminer
Avant de flasher, notez l'adresse IP actuelle de votre mineur et assurez-vous qu'il est opérationnel et accessible depuis votre ordinateur.
- Ouvrez un navigateur et saisissez l'adresse IP de votre mineur (par exemple
192.168.1.45) pour confirmer que l'interface web se charge correctement. - Connectez-vous avec les identifiants par défaut : nom d'utilisateur
root, mot de passeroot(ouadmin/adminselon votre modèle). - Notez la version du firmware affichée sur le tableau de bord — vous n'avez rien à faire avec, mais cela facilite le dépannage si nécessaire.
- Optionnel mais recommandé : Effectuez une réinitialisation d'usine depuis l'interface web de l'Antminer avant de flasher (Système → Réinitialiser la configuration). Cela vous donne une base de départ propre.
Étape 3 : Flasher Braiins OS via le Toolbox
C'est l'étape principale. Le Toolbox gère tout automatiquement — il vous suffit de lui indiquer votre mineur.
- Dans le Toolbox, cliquez sur Ajouter un mineur et saisissez l'adresse IP de votre mineur.
- Le Toolbox détectera le modèle du mineur et confirmera qu'il est compatible. Vous devriez voir un statut vert « Accessible ».
- Sélectionnez le mineur dans la liste et cliquez sur Installer Braiins OS+.
- Le Toolbox téléchargera la version de firmware correcte pour votre modèle, la poussera vers le mineur et le redémarrera automatiquement. Cela prend 3 à 8 minutes selon la vitesse de votre connexion.
- Ne coupez pas l'alimentation du mineur pendant ce processus. Les ventilateurs peuvent s'accélérer brièvement — c'est normal.
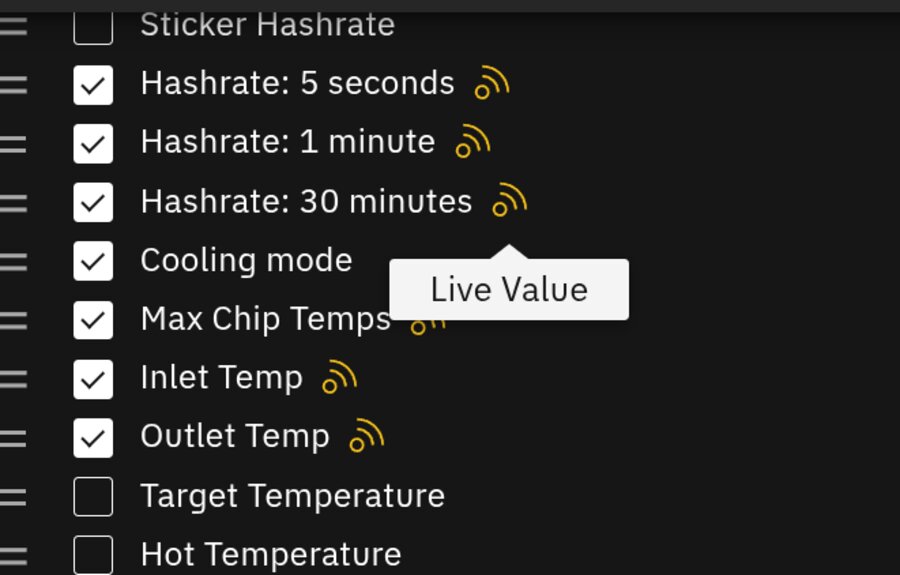
Une fois l'installation terminée, le mineur redémarre sous Braiins OS. L'interface web aura désormais un aspect totalement différent de l'interface Bitmain d'origine — plus épurée, avec des graphiques de hashrate en temps réel et des statistiques par puce.
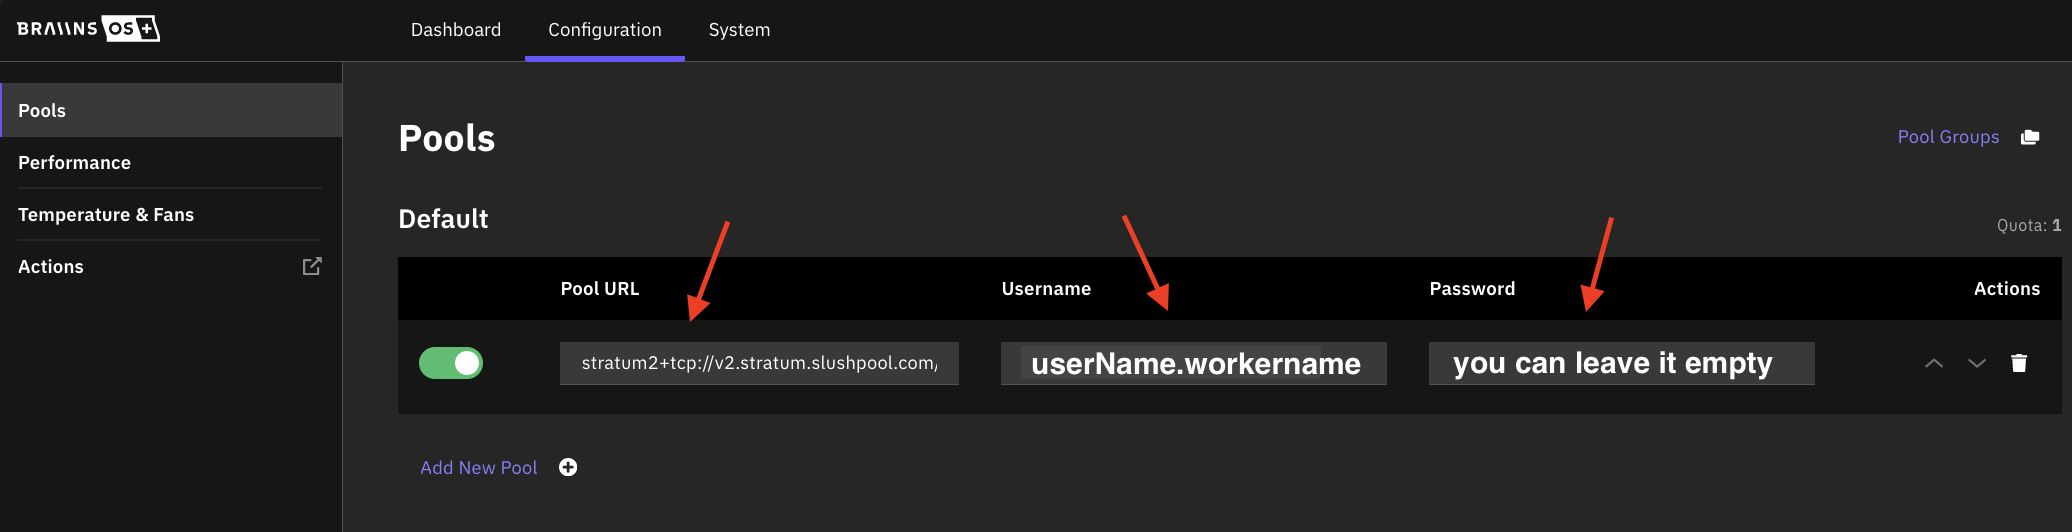
Étape 4 : Configurer votre pool de minage
Après le flashage, le mineur doit savoir où envoyer son hashrate. Vous configurerez cela via la nouvelle interface web de Braiins OS.
- Ouvrez un navigateur et accédez à l'adresse IP de votre mineur. Le nouveau tableau de bord Braiins OS se chargera.
- Cliquez sur Configuration dans le menu de gauche, puis sur Minage.
- Saisissez l'URL stratum de votre pool (par exemple
stratum+tcp://stratum.slushpool.com:3333), le nom de votre worker et le mot de passe. - Ajoutez un pool de secours dans le deuxième emplacement — cela vous permet de continuer à miner en cas de brève interruption de votre pool principal.
- Cliquez sur Enregistrer. Le mineur se reconnectera et commencera à soumettre des parts dans les 30 à 60 secondes.
Si vous êtes intéressé par le solo mining plutôt que le pool mining, consultez nos guides pour mineurs à domicile pour des conseils sur la connexion à un solo pool comme CKPool.
Étape 5 : Activer l'auto-tuning et surveiller
C'est là que Braiins OS brille vraiment. Une fois votre mineur en train de hasher, activez l'auto-tuning pour laisser le firmware optimiser chaque puce individuellement.
- Accédez à Configuration → Performance dans l'interface Braiins OS.
- Réglez le Mode de performance sur Auto-tuning.
- Définissez optionnellement un Objectif de puissance en watts pour plafonner la consommation du mineur. Pour une utilisation domestique, cela vous aide à rester dans la capacité de votre circuit électrique et à maîtriser les coûts d'électricité.
- Cliquez sur Enregistrer et attendez 15 à 30 minutes pour que l'auto-tuner complète sa première passe d'optimisation.
- Consultez le Tableau de bord pour voir l'état par hashboard et par puce. Vert = sain ; orange ou rouge = à investiguer.
Pour un suivi continu de la rentabilité, utilisez le calculateur de rentabilité des mineurs ASIC avec votre hashrate et votre consommation réels après tuning pour obtenir des chiffres de ROI précis.
Problèmes courants et solutions
Mineur introuvable par le Toolbox
Assurez-vous que votre ordinateur et votre mineur sont sur le même sous-réseau (même routeur). Désactivez tout VPN sur votre ordinateur pendant l'installation. Essayez de saisir l'IP manuellement plutôt que d'utiliser la détection automatique.
L'installation échoue entre 40 et 60 %
Cela signifie généralement que le mineur a redémarré en cours de flashage suite à une coupure de courant. Coupez et rétablissez l'alimentation du mineur, attendez 2 minutes, puis relancez l'installation. Le Braiins OS Toolbox est conçu pour récupérer en toute sécurité après des flashages partiels.
Le mineur affiche un faible hashrate après l'installation
Laissez l'auto-tuning se terminer pendant 30 à 60 minutes. Pendant la phase de tuning, le hashrate fluctuera considérablement — c'est normal. Ne redémarrez pas le mineur durant cette période.
L'interface web ne se charge pas après le flashage
L'adresse IP du mineur a peut-être changé si votre routeur attribue les IP via DHCP. Vérifiez la liste des appareils connectés de votre routeur pour trouver la nouvelle IP, ou assignez une IP statique à l'adresse MAC de votre mineur dans les paramètres de votre routeur.
FAQ
Braiins OS est-il gratuit ?
Oui. Braiins OS+ est gratuit sans dev fee. Il existe un abonnement payant optionnel (Braiins OS+ Premium) qui débloque des fonctionnalités supplémentaires comme des profils d'auto-tuning avancés, mais le niveau gratuit surpasse déjà le firmware d'origine pour la plupart des mineurs à domicile.
L'installation de Braiins OS annule-t-elle ma garantie ?
Techniquement, flasher un firmware tiers annule la garantie Bitmain. Cependant, Braiins OS peut être désinstallé et le firmware d'origine restauré via le Toolbox à tout moment, sans laisser aucune trace de la modification. Si vous avez besoin d'un service sous garantie, restaurez d'abord le firmware d'origine.
Quels modèles d'Antminer sont compatibles ?
Braiins OS prend en charge la plupart des variantes S19, le S21, le S21 XP et une liste croissante de modèles plus récents. Consultez la liste officielle de compatibilité Braiins avant d'acheter un mineur spécifiquement dans ce but.
Puis-je utiliser Braiins OS pour le solo mining ?
Oui. Il suffit de saisir l'adresse stratum de votre solo pool (par exemple CKPool) dans la configuration du pool. Braiins OS fonctionne avec n'importe quel pool compatible Stratum, y compris les solo pools. Consultez nos ressources pour mineurs à domicile pour plus de conseils sur le solo mining.
L'auto-tuning réduira-t-il la durée de vie de mon mineur ?
Non — bien au contraire. L'auto-tuning optimise l'efficacité, ce qui signifie souvent des températures de puces plus basses pour le même hashrate par rapport au firmware d'origine fonctionnant en mode performance maximale. Les puces qui fonctionnent plus fraîchement ont tendance à durer plus longtemps.
Prêt à améliorer votre installation ?
Braiins OS est l'une des mises à niveau gratuites les plus impactantes que vous puissiez apporter à n'importe quel Antminer. Un gain d'efficacité de 10 % signifie 10 % de Bitcoin supplémentaire par euro d'électricité — cumulé sur des mois et des années, cela représente de l'argent réel.
Si vous êtes prêt à ajouter du matériel Bitmain Antminer à votre installation, ou si vous débutez et recherchez un mineur à domicile prêt à l'emploi, parcourez notre sélection complète de mineurs ASIC sur Mineshop.eu. Nous livrons dans toute l'Europe avec une livraison rapide.
Vous avez des questions sur Braiins OS ou sur le choix du bon mineur ? Contactez notre équipe — nous serons ravis de vous aider.
Related Blog
Så väljer du en AI Workstation för lokala AI-modeller 2026
Jul 7, 2026 by Guntis Vitolins
Mineshop
Cómo elegir un AI workstation para ejecutar modelos de IA locales en 2026
Jul 7, 2026 by Guntis Vitolins
Mineshop
Comment choisir une AI workstation pour exécuter des modèles IA locaux en 2026
Jul 7, 2026 by Guntis Vitolins
Mineshop
Hoe een AI Workstation kiezen voor Lokale AI Modellen in 2026
Jul 7, 2026 by Guntis Vitolins
Mineshop