
Introduction
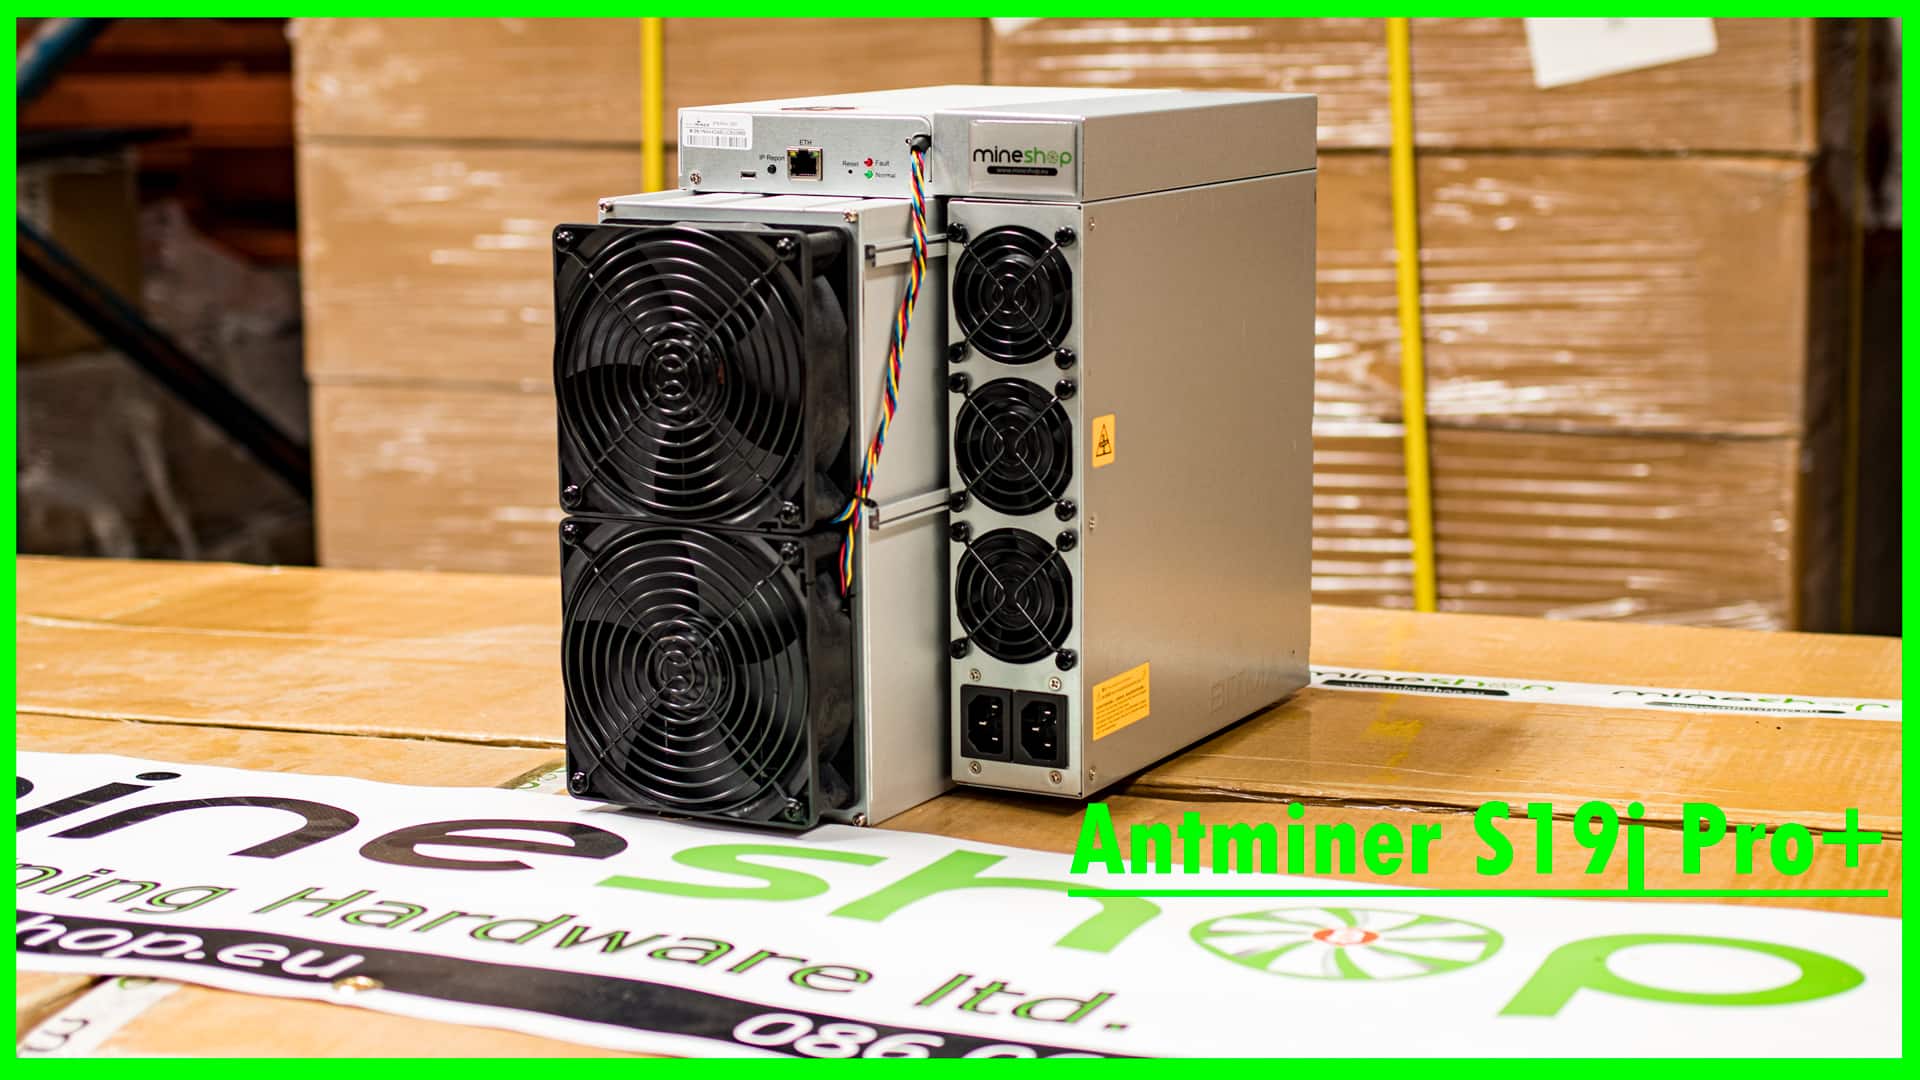
The world of cryptocurrency mining is evolving rapidly, and staying at the forefront of the latest technologies is key to maintaining a competitive edge. Among the numerous tools and technologies used by crypto miners, ASIC miners hold a prominent place due to their superior efficiency and computational power. Today, we are going to delve into one of the latest and most efficient Bitcoin ASIC miners in the market: The Antminer S19j Pro+ 120TH/s.
The Antminer S19j Pro+ 120TH/s stands tall as the go-to choice for professional miners, thanks to its astounding hash rate and optimal power efficiency. It is capable of mining several cryptocurrencies including Bitcoin (BTC), Bitcoin Cash (BCH), and Bitcoin SV (BSV). Let’s explore the Antminer S19j Pro+ in detail.
Specifications
The Antminer S19j Pro+ is a powerhouse. It boasts a hash rate of 120 TH/s (±3%), ensuring swift and efficient mining. The power efficiency on the wall at 25°C is 27.5 J/TH (±5%), while the power on wall at 25°C stands at 3355 Watts (±5%). This powerful machine maintains a perfect balance between energy consumption and mining efficiency.
The unit comes in compact dimensions of 400195290mm (without packaging) and weighs just 14.35 kg, allowing for easy setup and operation. The packaged dimensions are 570316430mm with a gross weight of 16.95 kg.
Its operational temperature range is between 0°C to 40°C, and it can be stored in temperatures between -20°C to 70°C. It operates optimally at a humidity of 10~90%, non-condensing, and it can work effectively at altitudes up to 2000 meters.
It connects to networks using an RJ45 Ethernet 10/100M connection, offering fast and reliable data transfer.
Track current mining profitability from this miner, insert miner performance in calculator bellow.
Setting Up the Server
- Getting the IP AddressFirst, we need to find the IP address for your Antminer S19j Pro+. Bitmain offers a tool called IPReporter to assist in this process. Note that the IPReporter tool is supported by Microsoft Windows only.
- Visit the following site: Bitmain Support
- Download the file: IPReporter.zip.
- Extract the file.
- Right-click “IPReporter.exe” and run it as Administrator.
- Choose either “Shelf, Step, Position” for farm servers to mark the location of the servers, or “Default” for home servers.
- Click “Start”.
Now, on your Antminer S19j Pro+’s controller board, press the IP Report button and hold it down until it beeps (about 5 seconds). The IP address will be displayed in a window on your computer screen.

- Accessing the ServerIn your web browser, enter the IP address provided. Use ‘root’ for both the username and password to login. If you want to assign a Static IP address, you can do that under the Protocol section. Enter the IP address, Subnet mask, gateway, and DNS Server, then click “Save”.
Configuring the Server
- Setting Up the PoolTo configure your Antminer S19j Pro+:
- Click “Setting”.
Note: Fan speed can be adjusted, but keeping the default setting is recommended. If no fan speed is selected, the server will adjust it automatically. The S19 series server has two working modes: Normal and Sleep.
- Click the “Miner Configuration” tab to set up your mining pools. Input the mining pool URL and worker name, then click “Save”.
Note: In this guide, we use Antpool as an example. You are free to use other mining pools.
Monitoring Your Server
To check the status of your server, click on the dashboard. From there, you can check various parameters like the number of chips detected, ASIC frequency setting, real-time Hashrate, inlet and outlet temperatures, and the chip state.
Administering Your Server
- Checking Your Firmware VersionTo find your current firmware version, navigate to the system settings on your server, and find the firmware version displayed at the bottom.
- Upgrading Your FirmwareEnsure your Antminer S19j Pro+ server stays powered during the upgrade process. To upgrade:
- Click “Firmware Upgrade” under the System settings.
- Choose “keep settings” to retain your current settings or deselect to reset to default settings.
- Click the upload button and select the firmware file, then click “Update”.
- Restart your server once the upgrade completes.
- Changing Your PasswordTo change your password, navigate to the “Password” setting under the System settings. Enter your new password, and then click “Save”.
- Restoring Initial SettingsTo restore your server to its default settings, let your server run for 5 minutes. Then, on the front panel of the controller, press and hold the Reset button for 10 seconds. The red LED will flash once every 15 seconds if the reset is successful.
Remember, crypto mining involves a certain degree of technical knowledge and risk. Always ensure you’re fully informed before starting your mining journey. Happy mining!