
Avalon Nano 3S Setup Guide: The Quietest Home Miner, Step by Step
The Avalon Nano 3S is one of the most beginner-friendly Bitcoin miners ever made. Designed by Canaan — one of the oldest ASIC manufacturers in the world — it runs quietly enough to sit on a desk, draws power from a standard USB-C connection, and requires no industrial electrical work whatsoever. If you have just received yours and are wondering where to begin, this Avalon Nano 3S setup guide walks you through everything from plugging it in to watching your first shares submitted to a mining pool.
Before you start, make sure you have a few things ready: a laptop or desktop computer with a modern browser, a stable Wi-Fi or wired internet connection, and a registered account at a Bitcoin mining pool (such as CKPool, OCEAN, or Braiins Pool). You do not need to install any software on your computer — the miner has its own built-in web interface you access through your browser. The whole process typically takes under 30 minutes, even if this is your first time setting up any kind of mining hardware.
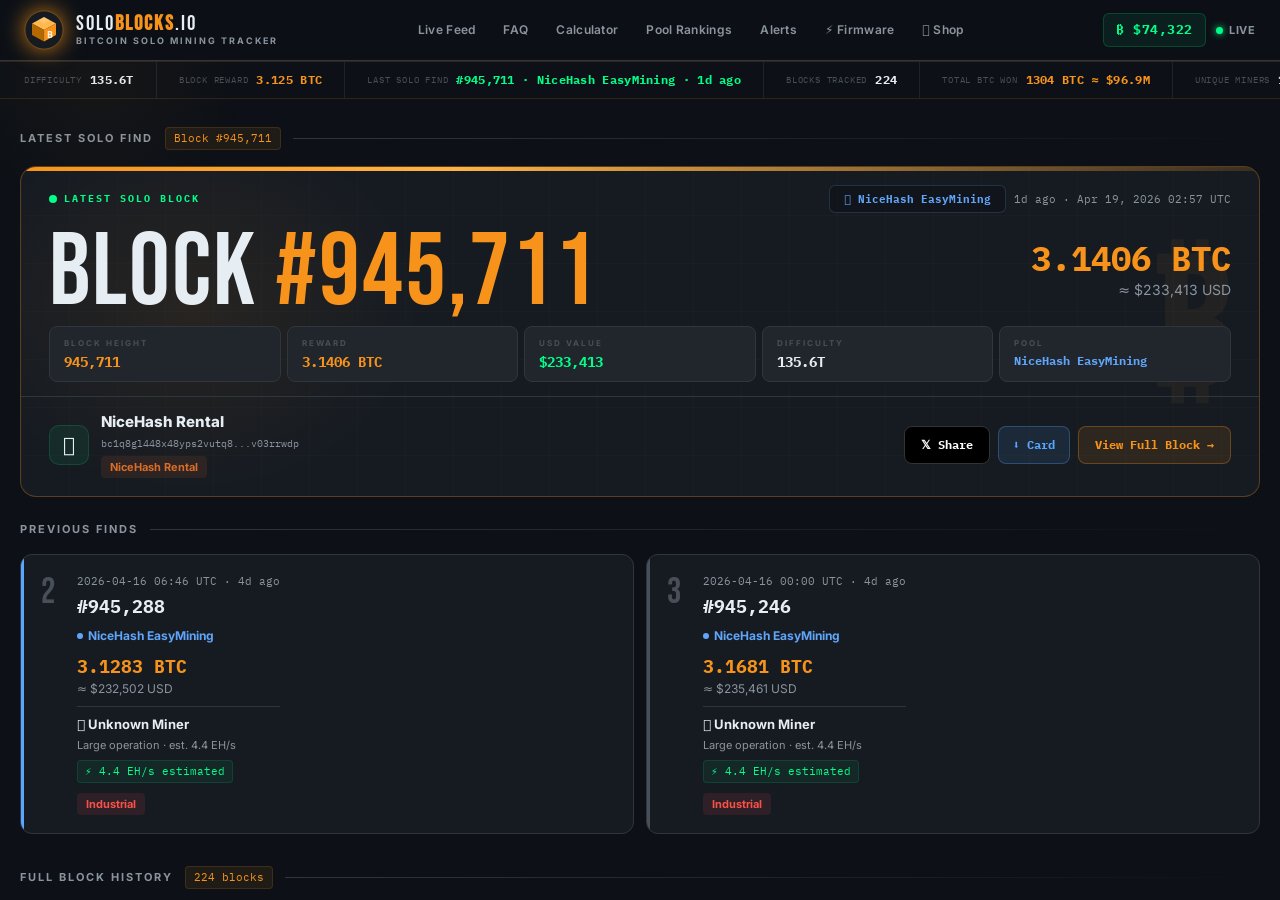
A mining pool is a group of miners who combine their computing power to find Bitcoin blocks more consistently, then share the block reward proportionally based on how much work each miner contributed. Instead of waiting months or years to find a block solo, pool mining delivers small, regular payouts. According to asicminersprofitability.com, small home miners like the Avalon Nano 3S are best suited to pool mining given their hashrate, making pool configuration the most important step in this guide.
What You Need
- Avalon Nano 3S miner (unboxed, with USB-C power cable included)
- A USB-C power adapter capable of at least 30W output (a modern laptop charger works)
- A computer, tablet, or smartphone with a web browser (Chrome, Firefox, or Edge recommended)
- A Wi-Fi network or a spare Ethernet port on your router
- An active account at a Bitcoin mining pool — CKPool, OCEAN, and Braiins Pool all work well
- Your Bitcoin wallet address for receiving payouts
- Optional: a network scanning app such as Advanced IP Scanner (Windows) or Angry IP Scanner (Mac/Linux) to locate the miner's IP address
Step-by-Step Guide
Step 1: Unbox and Inspect the Hardware
Remove the Avalon Nano 3S from its packaging and check for any visible damage to the casing, USB-C port, or ventilation grilles. The unit should feel solid and uniform — no rattling sounds when gently tilted. Inside the box you should find the miner itself and a USB-C cable; some bundles also include a short setup card. According to Canaan's official product documentation, the Nano 3S is rated at approximately 4 TH/s with a power consumption of around 10–14W, making it one of the lowest-draw Bitcoin ASICs available for home use. If anything looks damaged, contact Mineshop.eu support before proceeding.
Step 2: Connect the Miner to Power
Plug the included USB-C cable into the port on the back of the Avalon Nano 3S, then connect the other end to your USB-C power adapter. A 30W or higher USB-C charger is recommended for stable operation — the kind that comes with most modern laptops is ideal. Once power is connected, you should see a small indicator light on the unit turn on, and within about 30 seconds you may hear a very faint hum as the internal fans spin up. The Nano 3S is specifically engineered for near-silent operation, so do not be alarmed if you can barely hear it — that is by design and one of its key advantages over industrial miners.
Step 3: Connect the Miner to Your Network
The Avalon Nano 3S connects to your local network via Wi-Fi. To initiate the Wi-Fi pairing process, hold the small reset or Wi-Fi button on the device for approximately three seconds until the indicator light begins to flash — this puts the miner into access point (AP) mode. On your computer or phone, open your Wi-Fi settings and look for a new network named something like AvalonNano_XXXX (where XXXX is a unique identifier for your unit). Connect to that temporary network using the default password printed on the underside of the miner or in your documentation. Once connected, your browser may automatically open the miner's setup page; if not, type 192.168.168.1 into your browser's address bar.
Step 4: Configure Your Home Wi-Fi Credentials
Inside the miner's setup page, you will see a Wi-Fi configuration screen asking you to select your home network from a list of detected SSIDs. Select your home Wi-Fi network name, enter your Wi-Fi password carefully (passwords are case-sensitive), and click Save or Connect. The miner will disconnect from its temporary AP network and join your home network — your browser connection will briefly drop, which is completely normal. Wait about 60 seconds, then reconnect your computer to your regular home Wi-Fi network. The miner is now on your local network and ready for the next step.
Step 5: Find the Miner's Local IP Address
Now that the miner is on your home network, you need to find the IP address it has been assigned by your router so you can open its full control panel. The easiest method is to log into your router's admin page (usually at 192.168.1.1 or 192.168.0.1) and look at the list of connected devices — you should see an entry labelled AvalonNano or similar. Alternatively, download and run Advanced IP Scanner (Windows) or Angry IP Scanner (Mac/Linux), scan your local subnet, and look for the Canaan or AvalonNano device in the results. Once you have the IP address — it will look something like 192.168.1.45 — type it directly into your browser's address bar and press Enter.
Step 6: Log In to the Miner's Web Dashboard
The Avalon Nano 3S web dashboard will load in your browser. You will be prompted to log in — the default username is root and the default password is root (both lowercase). After logging in for the first time, it is strongly recommended to change your password immediately by navigating to the System or Administration section of the dashboard; use something unique that you will not forget. The main dashboard displays real-time information including hashrate, temperature, fan speed, and uptime. At this point, the miner may already be mining to a default pool — you will replace this with your own pool configuration in the next step.
Step 7: Enter Your Mining Pool Settings
Navigate to the Miner or Pool Configuration section of the dashboard. Here you will see fields for Pool URL (also called Stratum URL), Worker name, and Password. Enter the stratum address provided by your chosen mining pool — for example, Braiins Pool uses stratum+tcp://stratum.braiins.com:3333, while CKPool uses its own stratum endpoint listed in your pool account dashboard. In the Worker field, enter your pool username followed by a dot and a worker name of your choice, such as yourpooluser.nano3s. Most pools accept any value in the Password field, so entering x or 123 is fine. Click Save and allow 30–60 seconds for the miner to reconnect.
Step 8: Verify Shares Are Being Submitted
Return to the main dashboard and watch the hashrate readout — within two to three minutes of saving your pool settings, you should see the miner reporting an active hashrate of approximately 4 TH/s. Check the pool status section of the dashboard; it should show at least one pool as Alive or Active. Log in to your mining pool account in a separate browser tab and navigate to the Workers or Dashboard section — your miner's worker name should appear there within five to ten minutes, along with submitted shares. Seeing accepted shares on the pool side confirms your Avalon Nano 3S is mining correctly and your setup is complete.
Step 9: Change the Default Admin Password
This step is easy to skip but important for security. Go to System > Administration (or similar, depending on firmware version) in the web dashboard and change the default root/root login to a strong, unique password. Anyone on your local network could access the miner's settings if you leave the default credentials in place, which could result in your pool worker being redirected without your knowledge. Choose a password of at least 12 characters with a mix of letters and numbers, and store it somewhere safe such as a password manager.
Step 10: Optimise Placement for Cooling and Noise
The Avalon Nano 3S runs best when placed upright on a flat, hard surface with at least five centimetres of clearance on all sides for airflow. Avoid placing it inside drawers, cabinets, or directly against a wall, as restricted airflow can raise operating temperatures and reduce performance. The unit is designed for ambient temperatures between 0°C and 40°C — a normal room-temperature environment is ideal. Because this miner is so quiet, it can comfortably live on a bookshelf, desk, or TV unit without disturbing anyone nearby, which is one of its greatest advantages for home mining.
Quick Reference Table
| Setting / Spec | Avalon Nano 3S Value | Where to Find / Apply It |
|---|---|---|
| Default Web UI Username | root | Browser login prompt after entering IP address |
| Default Web UI Password | root | Browser login prompt — change immediately after first login |
| AP Mode Setup IP | 192.168.168.1 | Enter in browser while connected to AvalonNano_XXXX Wi-Fi |
| Rated Hashrate | ~4 TH/s | Visible on main dashboard under Hashrate or Summary |
| Power Consumption | ~10–14W | USB-C adapter must supply at least 30W for stable operation |
| Pool Stratum Port (common) | 3333 or 3334 | Pool Configuration section — check your pool's documentation |
| Worker Name Format | username.workername | Pool Configuration > Worker field in the dashboard |
| Operating Temperature Range | 0°C – 40°C ambient | Physical placement — keep in a ventilated, room-temperature space |
Common Issues and Fixes
Issue 1: The miner's Wi-Fi network (AvalonNano_XXXX) does not appear
Hold the Wi-Fi or reset button for a full five seconds until the LED flashes rapidly — a short press may not trigger AP mode. If the network still does not appear after 60 seconds, unplug the USB-C power cable, wait ten seconds, reconnect, and try again. Ensure you are within two metres of the miner during this step, as the AP mode signal has a short range.
Issue 2: Browser does not load the dashboard after entering the miner's IP
Confirm your computer is connected to your home Wi-Fi network and not still connected to the temporary AvalonNano AP. Double-check the IP address in your router's device list — it may have changed if your router reassigned addresses. Try typing the IP address with http:// at the front (not https://), as the dashboard uses an unencrypted connection by default.
Issue 3: Pool shows the worker as offline or no shares are accepted
Re-check the stratum URL and port number for your chosen pool — a single typo will prevent connection. Confirm that your pool account username is entered correctly in the Worker field, exactly as registered. Some pools require you to pre-register worker names in your account dashboard before they will accept shares from a new device.
Issue 4: Hashrate shows zero or fluctuates wildly on the dashboard
Allow at least five minutes after saving pool settings before drawing conclusions — initial hashrate readings can be unstable while the miner calibrates. If zero hashrate persists, reboot the miner from the System menu and allow two minutes for a fresh start. Check that your USB-C power adapter is rated for at least 30W; underpowered adapters cause erratic behaviour.
Issue 5: The miner keeps disconnecting from Wi-Fi
Move the miner closer to your Wi-Fi router or access point, as weak signal is the most common cause of repeated disconnections. If your router supports both 2.4 GHz and 5 GHz bands under the same network name, try splitting them and connecting the miner specifically to the 2.4 GHz band, which offers better range for small IoT-type devices. Assigning a static IP to the miner via your router's DHCP reservation feature can also prevent reconnection delays.
Issue 6: Forgot the admin password after changing it
Press and hold the reset button on the miner for ten or more seconds until the LED flashes in a different pattern, indicating a factory reset. This will erase your Wi-Fi credentials and pool settings as well, so you will need to repeat the setup process from Step 3. Going forward, store your admin password in a password manager to avoid this situation.
Frequently Asked Questions
How long does it take to set up the Avalon Nano 3S from scratch?
Most users complete the full setup in 15 to 30 minutes, including pool configuration and share verification. The Wi-Fi pairing step adds a few minutes compared to Ethernet-only devices, but the process is straightforward even for first-time miners. Having your pool credentials and wallet address ready before you start will save additional time.
Do I need a special electrical socket or circuit for the Avalon Nano 3S?
No — the Avalon Nano 3S runs entirely from USB-C power, which means any standard wall socket with a 30W or higher USB-C adapter is sufficient. You do not need a dedicated circuit, industrial power outlet, or any electrical modifications to your home. This makes it one of the most accessible mini Bitcoin miners available for residential use.
Which mining pool is best for the Avalon Nano 3S?
CKPool, OCEAN, and Braiins Pool are all popular choices among home miners and work well with the Avalon Nano 3S. Your choice will depend on your preference for payout method (FPPS, PPLNS, etc.) and minimum withdrawal thresholds. According to asicminersprofitability.com, pool fees and payout structures can meaningfully affect net earnings on low-hashrate miners, so it is worth comparing options before committing.
Can I run more than one pool (failover) on the Avalon Nano 3S?
Yes — the dashboard supports multiple pool entries, typically labelled Pool 1, Pool 2, and Pool 3. Pool 1 is your primary pool; if it goes offline, the miner automatically fails over to Pool 2, then Pool 3. It is good practice to configure at least two pools so your miner keeps working during brief pool outages.
Is the Avalon Nano 3S loud enough to be disruptive at home?
No — the Nano 3S is specifically engineered to be near-silent, operating at a noise level that most users describe as quieter than a desktop PC at idle. It is one of the quietest ASIC miners on the market, making it suitable for living rooms, home offices, and bedrooms. If you are looking for other quiet options, you can also browse the full home miner range at Mineshop.eu.
How do I update the firmware on the Avalon Nano 3S?
Firmware updates are distributed by Canaan on their official website at canaan.io. Download the latest firmware file for the Nano 3S, then log into your miner's web dashboard, navigate to System > Upgrade or Firmware Update, and upload the file. Do not unplug the miner during an update — the process takes two to four minutes and the miner will reboot automatically when finished.
Ready to Start Mining?

Mineshop.eu has been supplying European miners with genuine ASIC hardware since 2016, with EU warehouse stock in Ireland and fast DHL/FedEx delivery across all EU countries. Whether you are setting up your first miner or expanding an existing operation, you will find genuine, tested hardware backed by professional support. If you are exploring other compact miners, take a look at the Goldshell AE Box Pro (44MH/s) – High-Performance Home Miner for ALEO, the Bitmain Antminer X9 XMR RandomX ASIC Miner, or the Pinecone Matches INIBOX – INI ASIC Miner for alternative coins. For the full selection of low-noise home devices, browse the mini Bitcoin miners category or explore all ASIC miners available in stock today. If you have any questions about setup, compatibility, or your order, the Mineshop.eu team is ready to help — contact us here and a support engineer will get back to you promptly.
Related Blog
Canaan Avalon A15 Pro Review: Best Large Home Miner in 2026?
Jul 1, 2026 by Guntis Vitolins
mini bitcoin miner
Whatsminer M60S Review: Home Mining Beast or Overkill?
Jun 30, 2026 by Guntis Vitolins
mini bitcoin miner
Antminer S21 XP Review: The Most Efficient Home Miner in 2026?
Jun 29, 2026 by Guntis Vitolins
mini bitcoin miner
Avalon Nano 3S Installationsguide: Den Tystaste Hemmineraren, Steg för Steg
Apr 20, 2026 by Guntis Vitolins
mini bitcoin miner