
IceRiver KS3 Troubleshooting: Fixing Hash Board and Network Errors
Receiving your IceRiver KS3 is an exciting moment — but if your miner isn't hashing at full speed, is showing a dropped hash board, or simply won't connect to your network, don't panic. These are among the most common issues reported by new KS3 owners, and the vast majority can be resolved in under 30 minutes without any specialist tools. This guide walks you through every diagnostic step clearly and calmly, so you can get back to mining Kaspa (KAS) as quickly as possible.
Before you begin, make sure you have everything listed in the What You Need section below. IceRiver KS3 troubleshooting covers two main categories of faults: hash board errors — where one or more of the three internal hash boards stops contributing hashrate — and network errors, where the miner fails to obtain an IP address or connect to your mining pool. A hash board is a physical circuit board inside the miner that contains the ASIC chips responsible for solving proof-of-work calculations; if even one board underperforms, your total hashrate drops significantly below the rated 8 TH/s.
According to IceRiver's official support documentation, the KS3 ships with three hash boards and a control board. Each board must register correctly in the web dashboard for the miner to operate at its full rated output. This guide covers both hardware-level checks and software/firmware configuration steps, so you will have a complete picture by the end. Mineshop.eu has been supplying European miners with genuine ASIC hardware since 2016, with EU warehouse stock in Ireland and fast DHL/FedEx delivery across all EU countries — and our support team has handled hundreds of IceRiver setup tickets, so every tip in this article is based on real-world experience.
What You Need
- IceRiver KS3 miner — powered off and on a stable, non-conductive surface
- Standard IEC C13 power cable (supplied with the unit) and a 240 V / 16 A outlet (EU standard)
- RJ45 Ethernet cable — Cat 5e or better; Wi-Fi is not supported on the KS3
- A network router or switch with DHCP enabled and a spare LAN port
- A laptop or desktop computer on the same local network, running a modern browser (Chrome or Firefox recommended)
- Access to your router's admin panel so you can view connected devices and find the miner's IP address
- A configured mining pool account — Kaspa pools such as K1Pool, Herominers, or Woolypooly work well with the KS3
- Your pool's stratum URL, port number, and your wallet address as your worker username
- A Phillips-head screwdriver (PH2) in case you need to reseat a hash board connector
- An anti-static wrist strap — recommended if you open the chassis
- The latest KS3 firmware file, downloadable from the IceRiver official website
Step-by-Step Guide
Step 1: Perform a Safe Initial Power-On and Physical Inspection
Before connecting power, inspect the exterior of the KS3 for any shipping damage — dented panels, cracked fan guards, or loose connectors can all cause immediate errors. Place the miner on a hard, flat surface with at least 30 cm of clearance on all sides for airflow. Connect the Ethernet cable to the miner's LAN port and the other end to your router or switch, then plug in the power cable and switch the unit on. You should hear all fans spin up within three seconds and see the control board LED turn solid green within 30–60 seconds. If the LED flashes amber repeatedly at startup, note the pattern — this is a hardware fault code that will be referenced in the Common Issues and Fixes section below.
Step 2: Find the Miner's IP Address
Log into your router's admin panel (typically at 192.168.1.1 or 192.168.0.1) and navigate to the DHCP client list or connected devices table. Look for a device labelled IceRiver or with a hostname beginning in KS — note the assigned IP address, for example 192.168.1.105. If you cannot identify the miner in the list, try an IP scanner tool such as Advanced IP Scanner (Windows) or Angry IP Scanner (macOS/Linux) on the same network. Once you have the IP, type it directly into your browser's address bar and press Enter. You should see the IceRiver KS3 web dashboard login page; the default credentials are admin / admin.
Step 3: Check Hash Board Status in the Dashboard
After logging in, navigate to Miner Status or Overview in the left-hand menu. The dashboard will display three hash board rows (Board 1, Board 2, Board 3), each showing a chip count, temperature, and individual hashrate contribution. A healthy board shows a non-zero chip count (typically 64 chips per board on the KS3) and a temperature between 55 °C and 75 °C under load. If any board shows 0 chips detected, a red status indicator, or is simply absent from the list, that board has either failed to initialise or has a loose connector — proceed to Step 4. If all three boards are visible and healthy, skip ahead to Step 6 to resolve any pool connectivity issues instead.
Step 4: Reseat the Faulty Hash Board's Data and Power Connectors
Power the miner completely off and disconnect the power cable — wait a full 60 seconds for capacitors to discharge before opening the chassis. Remove the top cover by undoing the four screws on the sides. Locate the affected hash board (they are numbered on the PCB silkscreen) and firmly disconnect then reconnect both the flat ribbon data cable and the 6-pin power connector. A loose ribbon cable is the single most common cause of a hash board showing zero chips, and simply reseating it resolves the issue in the majority of cases. Reassemble the cover, reconnect power, and allow the miner to boot fully before checking the dashboard again.
Step 5: Update the Firmware to the Latest Stable Version
Outdated firmware is a frequently overlooked cause of hash board initialisation failures and false error codes on the KS3. Download the latest firmware package from the IceRiver official support page and save it to your computer. In the miner's web dashboard, go to System > Upgrade, click Choose File, select the firmware file, and click Upgrade. The miner will reboot automatically; do not cut power during this process — it typically takes 3–5 minutes. After the reboot, log back in and check whether the missing hash board now appears correctly in the status page.
Step 6: Configure Your Mining Pool Settings
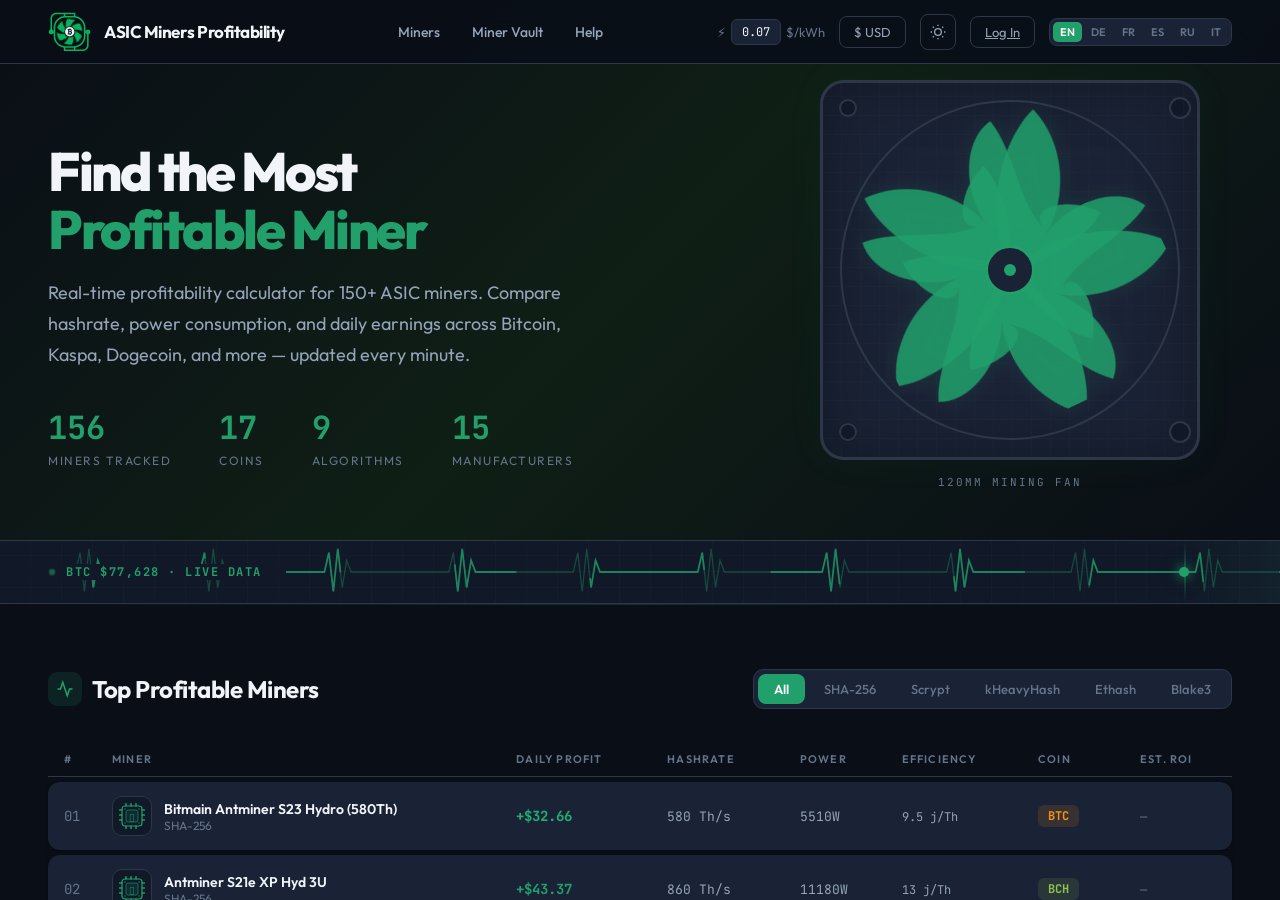
In the dashboard, navigate to Miner Configuration or Pool Settings. You will see slots for Pool 1, Pool 2, and Pool 3 — always configure at least two pools for redundancy. Enter your primary pool's stratum URL in the format stratum+tcp://pool.example.com:PORT, your wallet address (with an optional worker suffix such as .worker1) as the username, and any password the pool requires (many Kaspa pools accept x as a placeholder). Click Save and Apply. According to asicminersprofitability.com, the IceRiver KS3 delivers approximately 8 TH/s on the KHeavyHash algorithm — if your pool dashboard shows significantly less after 15 minutes, revisit the hash board checks in Steps 3 and 4.
Step 7: Resolve Network Connectivity Errors
If the miner obtained an IP address but the pool status in the dashboard shows Disconnected or Connection Failed, the issue is almost always one of three things: a firewall blocking the outbound stratum port, a typo in the pool URL, or DNS resolution failing on your router. First, double-check the stratum URL character by character — a single extra space or missing colon will prevent connection. Next, confirm that your router or ISP is not blocking outbound TCP on the port your pool uses (commonly 3333, 5555, or 14444). If you suspect a DNS issue, try replacing the pool hostname with its direct IP address temporarily to test the connection.
Step 8: Assign a Static IP to Prevent Future Disconnections
DHCP lease expiry can cause the miner's IP to change, breaking any bookmarked dashboard links and occasionally interrupting pool connections momentarily. In your router's admin panel, locate the DHCP reservation or static lease section and bind the miner's MAC address (visible on the label on the miner's chassis and also shown in the dashboard under System > Network) to a fixed IP address outside the DHCP pool range. Alternatively, set a static IP directly on the miner by going to System > Network in the dashboard and switching from DHCP to Static, then entering your chosen IP, subnet mask, gateway, and DNS server. This one-time step prevents a wide range of intermittent connectivity complaints.
Step 9: Perform a Factory Reset as a Last Resort
If you have worked through all previous steps and the miner is still showing hash board errors or refusing to connect, a full factory reset clears all configuration data and forces the control board to re-detect hardware from scratch. In the dashboard, go to System > Reset and confirm the action — or, if the dashboard is inaccessible, hold the physical reset button on the control board for 10 seconds with the miner powered on. After the reset, the miner will reboot with default settings; you will need to log in with admin / admin again and reconfigure your pool settings from Step 6. If a hash board still shows zero chips after a factory reset and confirmed connector reseating, the board itself may require professional repair — contact Mineshop.eu support for warranty guidance.
Quick Reference Table
| Issue | Likely Cause | Recommended Fix | Estimated Resolution Time |
|---|---|---|---|
| Hash board shows 0 chips | Loose ribbon or power connector | Reseat all board connectors (Step 4) | 10–15 minutes |
| Hashrate 30–50% below rated 8 TH/s | One board offline or outdated firmware | Firmware update + board check (Steps 3–5) | 15–20 minutes |
| Pool status: Disconnected | Wrong stratum URL or blocked port | Verify pool config, check firewall (Steps 6–7) | 5–10 minutes |
| Miner not found on network | DHCP not assigning IP or cable fault | Check cable, router DHCP list (Step 2) | 5–10 minutes |
| Dashboard login fails | Changed password or IP conflict | Factory reset (Step 9) or IP scan | 10 minutes |
| Overheating / thermal throttle | Blocked airflow or ambient temp too high | Clear obstructions, reduce room temperature below 35 °C | Immediate |
Common Issues and Fixes
Error: "Board X Not Found" on the Status Page
This message means the control board cannot communicate with the listed hash board at all. Power off, reseat the ribbon data cable on both the hash board end and the control board end, then power back on. If the error persists after reseating, attempt a firmware reflash (Step 5) before concluding the board has a hardware fault.
Error: Low Chip Count (e.g. 48/64 chips detected)
A partial chip count usually indicates thermal paste degradation on a small number of ASIC chips, or a solder joint issue caused by shipping vibration. Try running the miner for 30 minutes to allow it to thermally stabilise — occasionally, chip counts normalise once the board reaches operating temperature. If the count remains low and hashrate is consistently degraded, the board should be assessed by a qualified repair technician.
Error: Miner Reboots Every 10–20 Minutes
Spontaneous reboots are almost always caused by an underpowered or failing PSU, or by an overtemperature protection trigger. Verify that your power outlet and cable are rated for the KS3's power draw (approximately 3,200 W at the wall), and check that ambient temperatures in your mining space are below 35 °C. Replacing a marginal power cable with a heavy-duty 16 A rated IEC cable often resolves this immediately.
Error: Pool Accepted Share Count Stuck at Zero
If the miner is connected to the pool but accepted shares show zero after 10+ minutes, the most common cause is submitting shares to the wrong pool algorithm or using a wallet address format that the pool rejects. Confirm your Kaspa wallet address starts with kaspa: and matches exactly what is registered on your pool account. Cross-reference your pool's getting-started page for the exact stratum string format required for IceRiver miners.
Error: Web Dashboard Unreachable After IP Change
If you changed network settings and can no longer reach the dashboard, use an IP scanner on your local network to rediscover the miner's new address. If the miner was set to a static IP that no longer fits your network range, a factory reset (Step 9) is the fastest path back to access — after which you should immediately assign a DHCP reservation as described in Step 8.
Error: Fan Speed Warning or Fan Failure Alert
The KS3 uses dual high-speed fans; if either drops below approximately 2,000 RPM, the dashboard will flag a warning and the miner may reduce hashrate to protect components. Check that nothing is physically obstructing either fan inlet or exhaust. If the fan is visibly not spinning despite the miner being powered on, the fan will need replacement — contact Mineshop.eu support, as replacement fans for IceRiver units are stocked in our EU warehouse.
Frequently Asked Questions
How long does it take for the IceRiver KS3 to start mining after initial setup?
After you configure your pool settings and save, the KS3 typically begins submitting shares within 2–5 minutes. Your mining pool dashboard will show the miner as active once the first share is accepted, though hashrate displays may take up to 15 minutes to fully stabilise as the boards warm up.
Can I run the IceRiver KS3 on a Wi-Fi connection instead of Ethernet?
No — the KS3 does not have a Wi-Fi adapter and requires a physical Ethernet connection via its RJ45 port. Using a Wi-Fi to Ethernet bridge adapter is technically possible but not recommended, as any wireless instability will directly translate into lost shares and potential pool disconnections.
What is the normal operating temperature for the KS3 hash boards?
Hash board temperatures between 55 °C and 80 °C are considered normal under full load. If any board consistently exceeds 85 °C, the miner will throttle performance to protect the chips — ensure adequate ventilation and that intake air temperature is below 35 °C.
Will updating the firmware delete my pool configuration?
Standard firmware updates on the KS3 preserve your pool settings in most cases, but it is best practice to note down your pool URLs, usernames, and any custom settings before upgrading. A factory reset, on the other hand, will clear all configuration data and requires a full reconfiguration afterwards.
One hash board failed after one week of use — is this covered under warranty?
Yes. IceRiver provides a manufacturer warranty on the KS3, and Mineshop.eu supports warranty claims for all units purchased through our store. Contact our support team via the Mineshop.eu contact page with your order number and a description of the fault, and we will coordinate the next steps including any return or repair process.
My KS3 shows 8 TH/s on the dashboard but my pool is only reporting 6 TH/s — why?
A difference of 10–20% between the miner's self-reported hashrate and the pool's calculated effective hashrate is normal and is due to statistical variance in share submission over short measurement windows. Pool-reported hashrate is an average calculated over longer periods — typically 1 hour — and will converge closer to the rated 8 TH/s as more data accumulates. If the discrepancy exceeds 25% after 24 hours, revisit your hash board status as described in Step 3.
If you are comparing the IceRiver KS3 against other ASIC miners for your setup, browse the full range of IceRiver KAS miners at Mineshop.eu or explore the broader ASIC miner catalogue for alternatives across multiple algorithms. For quieter home-based setups, our home miner category and mini Bitcoin miners section offer lower-noise options worth considering alongside your KAS mining strategy.

Ready to add another machine to your operation? The IceRiver KS3 and the full IceRiver lineup are available at Mineshop.eu, with EU warehouse stock and fast DHL/FedEx shipping across all EU countries. If you need personalised support with your IceRiver KS3 troubleshooting, our technical team is available through the Mineshop.eu support page — we are happy to walk you through any issue step by step.
Related Blog
ASIC Miner Overklockningsguide: Öka Hashrate Säkert 2026
Jun 25, 2026 by Guntis Vitolins
Asic miner
Guía de Overclocking para Mineros ASIC: Aumenta el Hashrate de Forma Segura en 2026
Jun 25, 2026 by Guntis Vitolins
Asic miner
Guide d'Overclocking ASIC : Augmentez le Hashrate en Sécurité en 2026
Jun 25, 2026 by Guntis Vitolins
Asic miner
ASIC Miner Overklokken Gids: Verhoog Hashrate Veilig in 2026
Jun 25, 2026 by Guntis Vitolins
Asic miner